Change the proofing language for element text
- Home
- Resources
- User manual
- think-cell user interface
- Change the proofing language for element text
The default language of labels and placeholder text for think-cell elements such as charts, text boxes, and tables matches the proofing language of the current slide.
Element layouts also adapt to the reading direction of the proofing language. In a Gantt chart, for example, if the proofing language is a right-to-left language such as Arabic or Hebrew, the timeline progresses from right to left.
We recommend that before you insert a chart or other element onto your slide, you ensure that the current slide uses the proofing language that you want. If you change the proofing language after you've inserted an element, or if you paste the element onto a slide that has a different proofing language, you'll need to remove and re-add the element or its labels to match the new language.
Change the proofing language
You can change the proofing language for the current slide, for all existing slides in the presentation, or for the current and all future presentations.
- On the PowerPoint ribbon, select one of the following:
- think-cell > Quality > Set Proofing Language

- Review > Language > Language > Set Proofing Language
- think-cell > Quality > Set Proofing Language
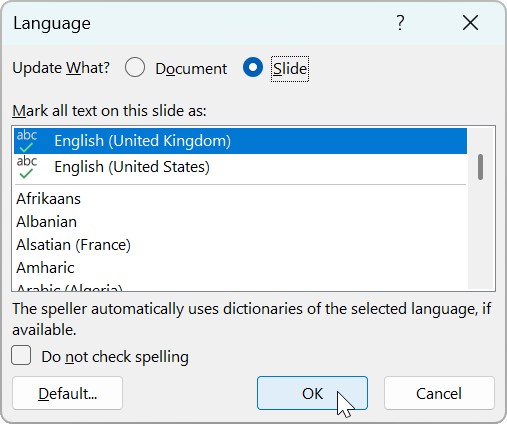
- In the Language dialog, select the language that you want.
- Select where to apply the language.
- To apply the language to all existing slides in the presentation, select Document.
- To apply the language to the current slide, select Slide.
- To apply the language to the current and all future presentations, select Default. In the dialog that opens, select Yes.
- Select OK.
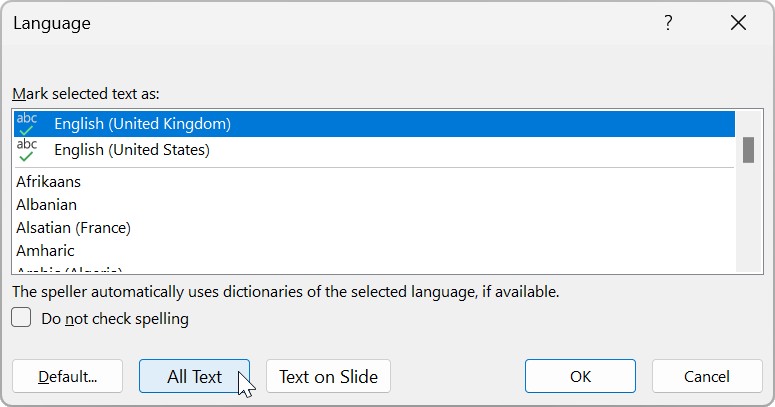
In older PowerPoint versions, the built-in Language dialog doesn't have options to change the proofing language for all existing slides in the presentation or the current slide. think-cell adds the All Text and Text on Slide buttons.
To change the proofing language, follow these steps:
- On the PowerPoint ribbon, select one of the following:
- think-cell > Quality > Set Proofing Language
- Review > Language > Language > Set Proofing Language
- think-cell > Quality > Set Proofing Language
- In the Language dialog, select the language that you want.
- Select where to apply the language.
- To apply the language to the current and all future presentations, select Default. In the dialog that opens, select Yes.
- To apply the language to all existing slides in the presentation, select All Text.
- To apply the language to the current slide, select Text on Slide.
- Select OK.
Need to troubleshoot?
Check our knowledge base