Agendas
Using think-cell agendas, you can create a table of contents, chapters, and subchapters for your presentation. As you add, remove, reorder, and rename chapters, agenda slides automatically update to reflect the latest structure.
For general instructions on formatting and arranging agendas and other think-cell elements, see Shapes and elements.


Insert chapters
To start a new chapter of your presentation, on the PowerPoint ribbon, select Insert > think-cell > Elements > Chapter ![]() . A new slide is inserted after the current slide which contains a new line “Chapter”. The new line is selected, so you can immediately type the name of the new chapter, overwriting the placeholder text. The new slide is by default titled “Agenda” which can be changed if desired (see Role model).
. A new slide is inserted after the current slide which contains a new line “Chapter”. The new line is selected, so you can immediately type the name of the new chapter, overwriting the placeholder text. The new slide is by default titled “Agenda” which can be changed if desired (see Role model).
When editing the agenda, you can also select a chapter heading and press Ctrl+Alt+↓. This will insert a new chapter after the one currently selected.
Reorder chapters
While editing an agenda slide, you can change the order of chapters using the following methods:
- Select a chapter heading, then hold Shift+Alt and use ↑ ↓ to move the current chapter up or down.
- Drag the chapter heading to a new location.
- Drag while holding Ctrl to duplicate the chapter.
If you move a chapter, slides belonging to that chapter are moved along, i.e., all slides between the agenda slide of the moved chapter and the agenda slide of the following chapter.
In the Slide Sorter view, you can reorder, copy, paste, and duplicate agenda slides in the same manner as normal slides. If you change the order of chapters, all agenda slides are updated accordingly.
Position agenda elements
By default, an agenda element is centered on the slide. If you want to, you can move the agenda element to another position. You should position your agenda element after you insert the first chapter slide, as agenda elements on subsequent chapter slides automatically appear in the same position.
If you've changed the position of an agenda element and want to match other agenda elements to its position, you can align the edges of elements across slides (see Align elements to objects on other slides when resizing). For example, to match the top edges of two agenda elements on different slides, follow these steps:
- Insert the first agenda slide: on the PowerPoint ribbon, select Insert > think-cell > Elements > Chapter
 .
. - Insert a second agenda slide, for example by selecting the chapter heading and pressing Ctrl+Alt+↓.
- Select the whole agenda element by clicking on its boundary, when an orange selection frame is shown around all chapter headings.
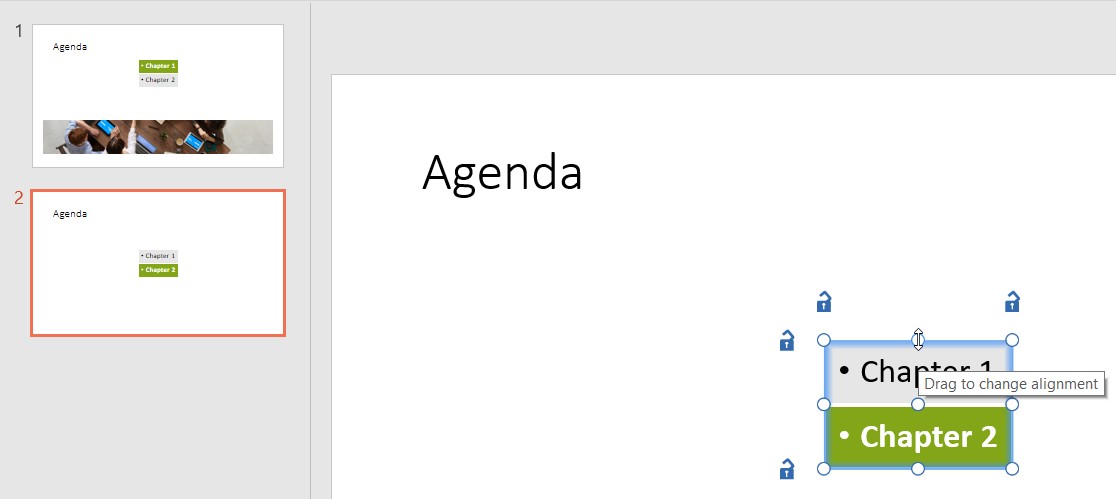
- Click and hold the handle on the top edge.
- While holding the mouse button, switch to the other agenda slide by scrolling with the mouse wheel, or using Page up or Page down.
- Drag the top edge of the gray selection outline that is shown to align with the top edge of the agenda element on that slide. A thin gray line will be shown as a snap indicator.

- Release the mouse button.
Now the top edges of the two agenda elements are also snapped together, so that their position on the slide will always be the same. When you add additional agenda slides, the top edges of the agenda elements on these slides will inherit this snap connection as explained in Role model.
Automatically resize agenda elements to fit their contents
Agenda elements can automatically resize to fit their contents. You can turn automatic resizing on and off, and chose the direction in which an agenda element grows or shrinks. To learn more, see Automatically resize text boxes to fit their contents.
Multilevel chapter hierarchy
The hierarchy of chapters and subchapters is determined by text levels. PowerPoint provides several ways to change text levels—for example, you can use PowerPoint’s buttons for increasing and decreasing the list level. Alternatively, hold down Shift+Alt and use the arrow keys ← and →.
Subchapters will only be shown on chapter slides of the same level and on the slide of the parent chapter. If a chapter with hidden subchapters is selected, a marker 
Agenda slides will be hidden during the slide show if there are no slides between a chapter and its first subchapter, i.e., the main chapter does not have content of its own. This avoids having to fast-forward chapter slides until you reach the actual content during slide shows. It is achieved by automatically setting PowerPoint’s “Hide Slide” attribute.
For example, when a chapter “A” contains a subchapter “A1”, and there are no content slides between the agenda slides for “A” and “A1”, then the agenda slide for “A” is automatically set to “hidden” in PowerPoint. Similarly, when the condition no longer holds, the slide is automatically “unhidden” in PowerPoint.
During slide shows, a displayed slide number will jump whenever a hidden agenda slide is omitted. To prevent this and remove all such slides from the presentation, select the entire group of chapter headings and right-click to bring up the context menu, then select Remove Hidden Agenda Slides


Multiple agendas in a single presentation
It is possible to split the presentation into multiple sections, each with its own agenda. To do this, go to the first slide of the second section and select Insert > think-cell > Elements > ![]() Split Agenda. You can identify a splitter slide by the marker at the top of the slide.
Split Agenda. You can identify a splitter slide by the marker at the top of the slide.
Chapters after a splitter are not included in agenda slides before the splitter and vice versa. The different sections in the presentation have independent agendas.
Typically, a splitter is used to separate a backup section from the main part of the presentation. In this case, usually the backup section has its own title slide, which just says “Backup” (with no agenda or overview on it). This is where the agenda splitter should be placed. The chapters after this slide do not appear on agenda slides at the beginning of the presentation and the backup slides are not moved along when moving the last chapter of the main part of the presentation.
Note: If you place the agenda splitter on the first agenda slide in the backup, the splitter would be moved along if you move this chapter later and would also be duplicated if you duplicate the agenda slide.
Insert a table of contents
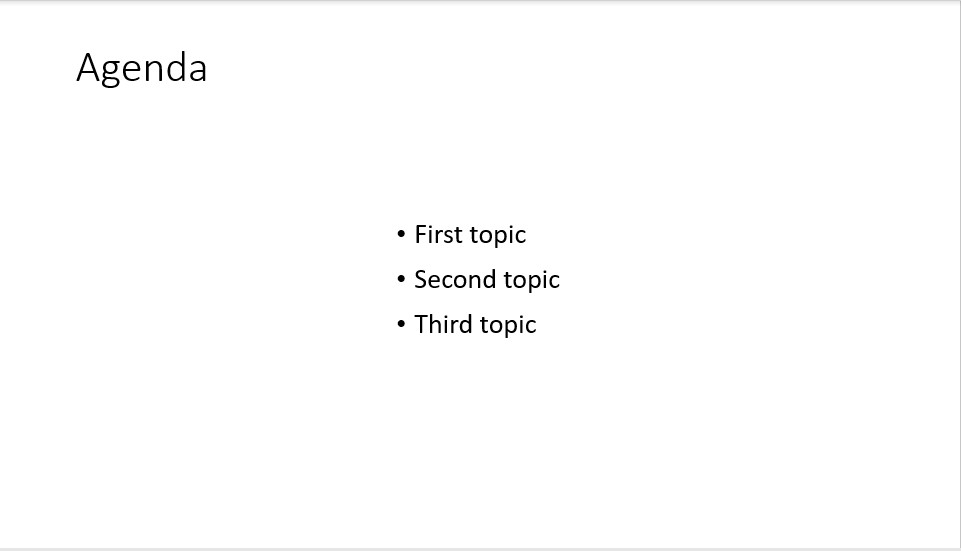
To add a slide showing all top-level chapters without any highlighting, select Insert > think-cell > Elements > Table of Contents ![]() . If you have not yet defined any chapters, the slide will be empty, and will be populated when you add chapters. An example is shown below:
. If you have not yet defined any chapters, the slide will be empty, and will be populated when you add chapters. An example is shown below:
If the presentation already contains chapter slides, the contents slide will be inserted before the first chapter slide. If there are no chapter slides yet, an empty contents slide will be inserted after the current slide. Simply use PowerPoint’s slide sorter view to move it to the desired position.
Style the agenda
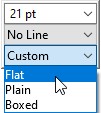
When a chapter heading is selected, the mini toolbar offers controls for changing the font size and style (see Font), the fill (see Fills) and the style of the outline (see Change the line style and weight). When an outline is used, you can also change its color.
The styling of a chapter heading is used for all chapters of the same type. For example, if you assign a blue fill and dashed outline to a highlighted top-level chapter heading, all other highlighted top-level chapters will be styled in the same way.

When styling the agenda, think-cell differentiates between the following types:
- chapter is current and at top level
- chapter is top-level and contains the current chapter
- chapter is top-level but does not contain current chapter
- chapter is current but not at top level
- chapter is an immediate child of current chapter, and current chapter is top-level
- neither chapter nor current chapter are top-level, and chapter is not on the path from the top-level chapter to the current chapter, but either one of its siblings is on this path or it is an immediate child of the current chapter (chapter is “in subtree of current”)
- chapter is not top-level and not current and not “in subtree of current”, but the top-level chapter of this chapter is current
- chapter is not top-level and not current and not “in subtree of current”, but this chapter is below the same top-level as the current chapter
- any other chapter (except table of contents)
- chapter is in table of contents, and chapter is top-level
- chapter is in table of contents, and chapter is not top-level
- neither chapter nor current chapter are top-level, and chapter is on the path from the top-level chapter to the current chapter
Using the mini toolbar you can also choose between predefined styles. Usually, only top-level headings are shown in the table of contents.
You can change the properties of all chapters on any agenda slide. You do not need to switch to the specific chapter’s slide.
Tips and tricks
You can use all four arrow keys for chapter shortcuts: Shift+Alt and ↑ ↓ for reordering chapters and Shift+Alt and ← → for changing the hierarchy level.
In slide view, double-clicking the orange selection frame around a chapter heading takes you to the associated agenda slide. A single click accomplishes the same during a slide show.
Selecting a chapter heading and changing the font size and style using the mini toolbar applies the same change to all other chapters of the same type. However, selecting part of the chapter heading text and using PowerPoint’s controls, e.g. for italicizing a proper name, will change this chapter’s text on all agenda slides but will not affect other chapters.
Role model
After you insert the first agenda slide, the next agenda slides you insert will copy the first slide's shapes, slide master, and layout. If you have more than one agenda slide in a presentation and these slides have different slide masters or layouts, agenda slides you insert afterwards will copy the appearance of the closest preceding agenda slide.
Need to troubleshoot?
Check our knowledge base