Resize objects
This page explains how to resize think-cell elements in PowerPoint.
To learn how to match the sizes of objects—including both think-cell elements and PowerPoint shapes—see Match object sizes.
Resize objects
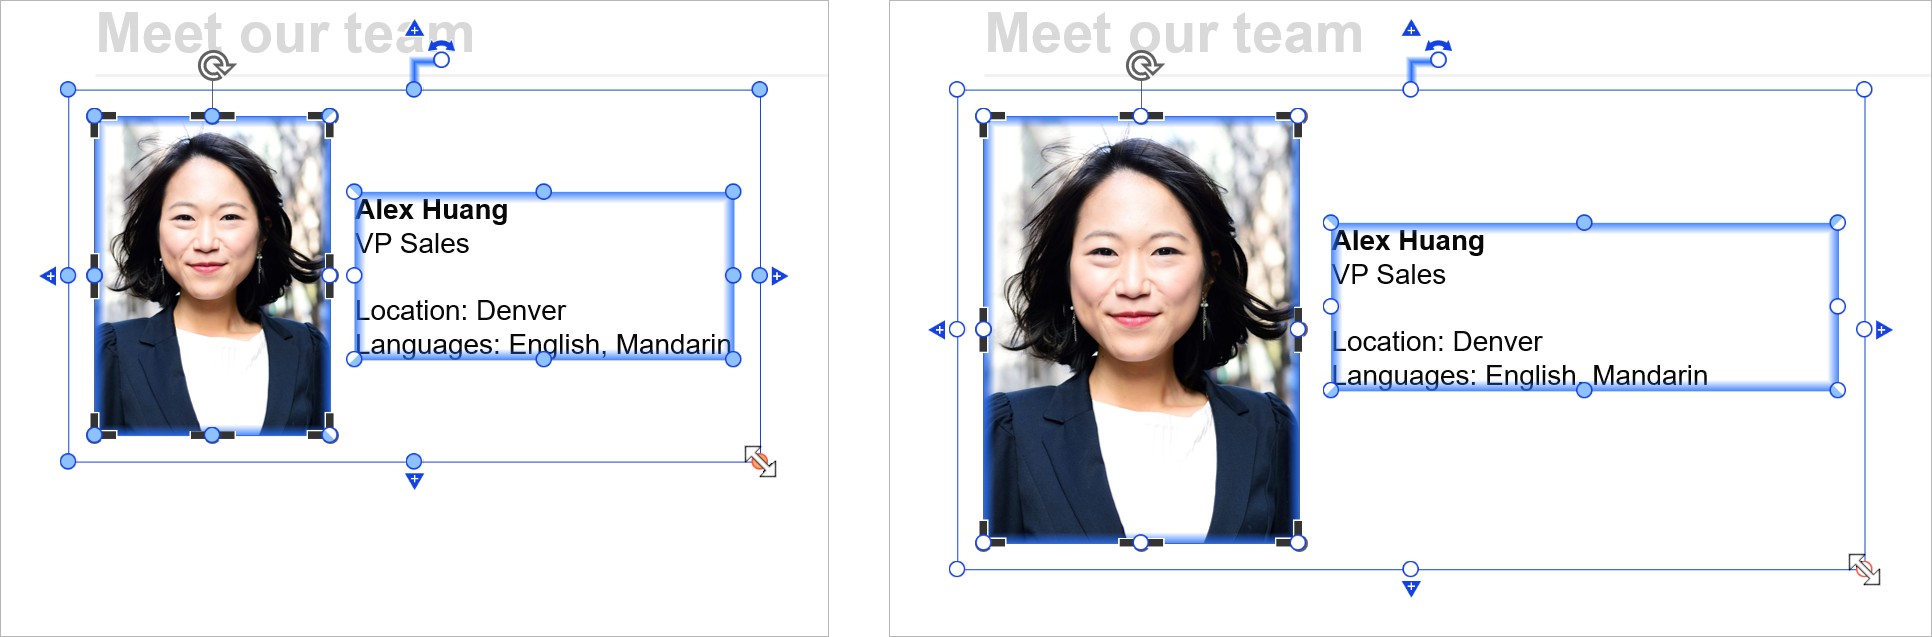
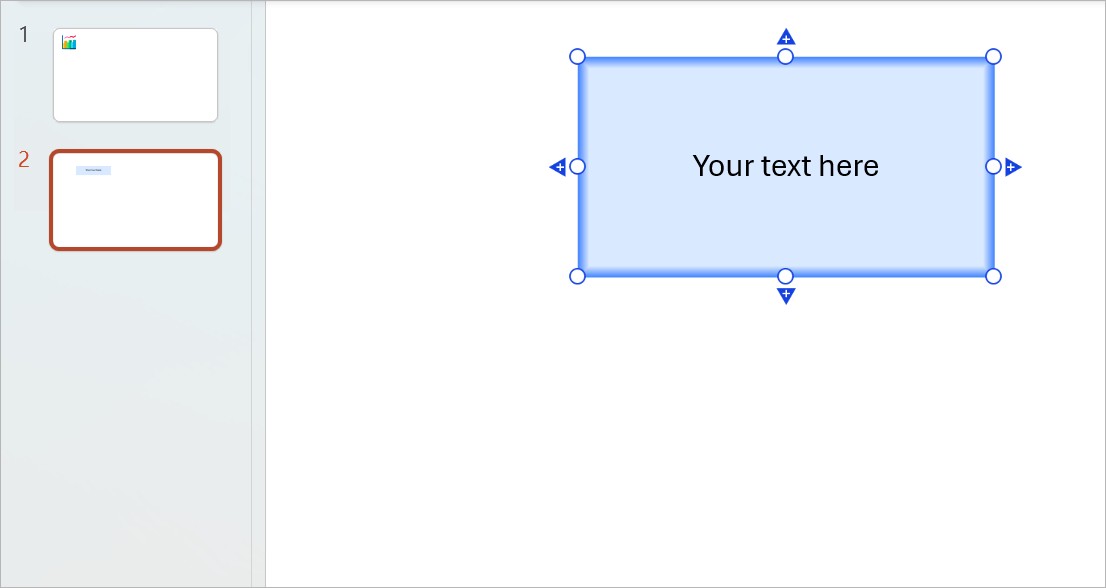
When you select an element, resize handles appear at the corners and on the edges of the selection frame. To resize an element, drag one of these handles.
When you select multiple objects, including at least one think-cell element, a selection frame appears around the entire selection. When you drag a resize handle on the outer selection frame, the objects scale so that their relative sizes and the relative space between them remain the same.
To scale a selection that includes only PowerPoint shapes, see Scale PowerPoint shapes.
Specify the exact dimensions of elements
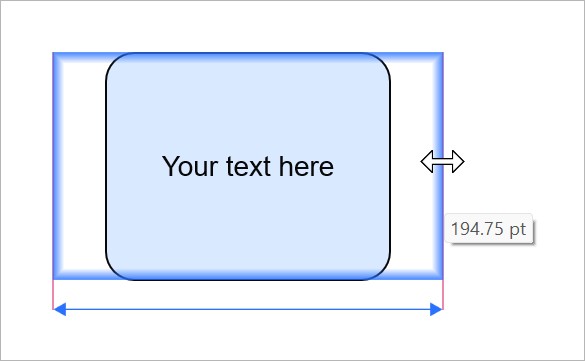
To specify the exact width or height of an element, follow these steps:
- Select the element that you want to resize.
- Hold Ctrl and drag a resize handle. A double-ended size-constraint arrow appears along the dimension that you're resizing. Below the resize handle, a tooltip appears that shows the exact width or height.
- Continue dragging the resize handle until the tooltip shows the width or height that you want, then release the mouse button.
Align elements to objects on other slides when resizing
When you resize an element, you can align the element to an object on another slide.
- Select the element that you want to resize.
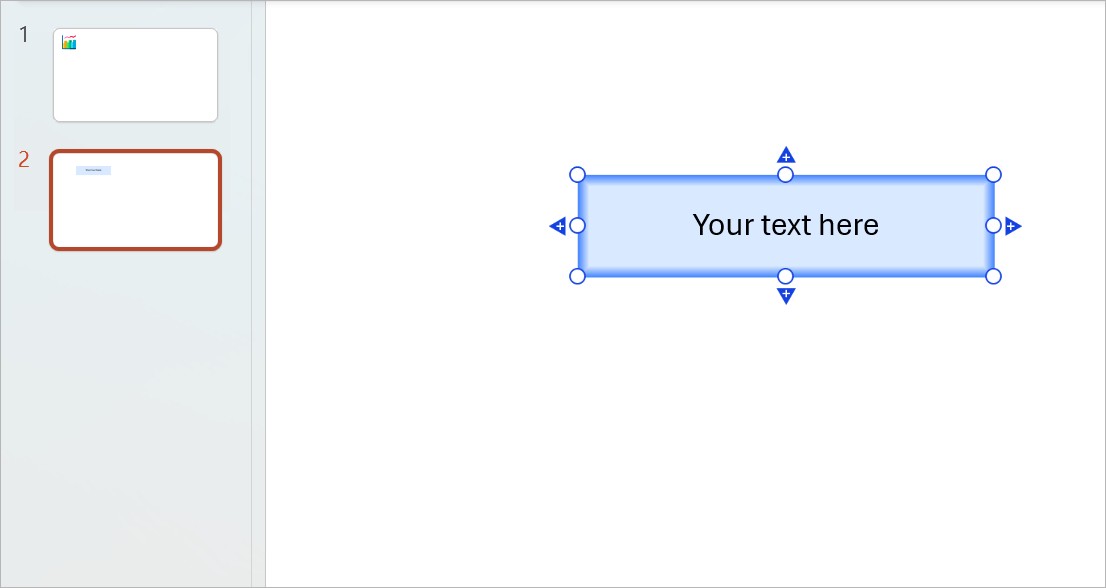
- Select and hold one of the element's resize handles, then move to a different slide:
- To move to the previous slide, select the Up arrow key, select Page up, or use the mouse wheel.
- To move to the next slide, select the Down arrow key, select Page down, or use the mouse wheel.
- To move to the first slide, select Home.
- To move to the last slide, select End.
- The outline of the element that you're resizing appears in gray, and you can align the outline to think-cell elements or PowerPoint shapes on the other slide (see Align objects using think-cell guides).
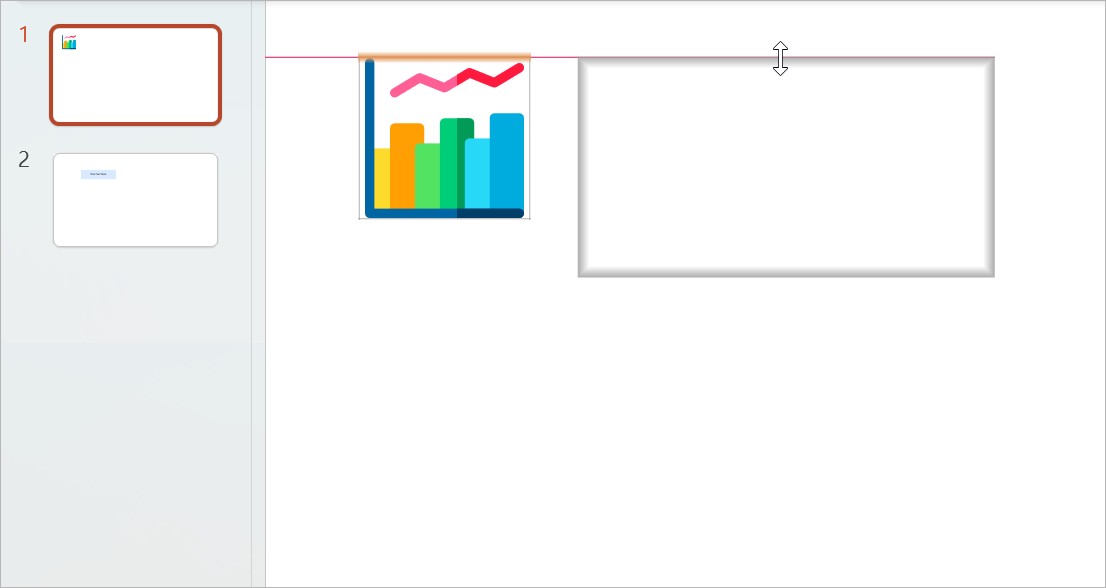
- To apply the new size and return to the original slide, release the mouse button.
Automatically resize elements to fit their contents
You can automatically resize text boxes, tables, and charts so that they fit their contents.
Need to troubleshoot?
Check our knowledge base