Text boxes
think-cell text boxes can automatically adjust their size and position for optimal slide layouts. Learn how to control automatic resizing by locking and unlocking text box edges. Create dynamic alignments with other think-cell elements so that when you edit the text, the other elements move and resize to preserve the alignment.
For general instructions on formatting and arranging text boxes and other think-cell elements, see Shapes and elements.
Insert think-cell text boxes
To insert a text box on your slide, follow these steps:
- In PowerPoint, on the Insert ribbon tab, go to the think-cell group and select Text Box
 .
. - To insert a text box with the default size, click where you want to insert the text box. To insert a text box with a custom size, drag to insert the text box with the size that you want.
- Start typing to enter text in the text box.
Automatically resize text boxes to fit their contents
think-cell text boxes can automatically resize to fit their contents. You can turn automatic resizing on and off, and chose the direction in which a text box or shrinks, by unlocking and locking the edges of a text box.
You can also use automatic resizing with other think-cell elements that contain text or whose sizes are specified in points, including Harvey balls and checkboxes, Pentagons and chevrons, Rounded rectangles, Agendas, and Images and icons.
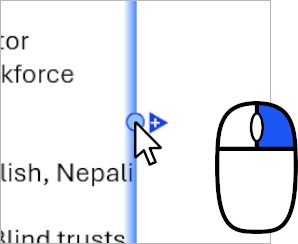
An unlocked edge can automatically move to fit the text box's contents. An unlocked edge has a blue resize handle 
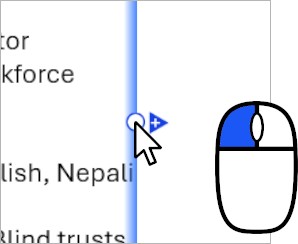
A locked edge doesn't move, even when the contents of the text box change. A locked edge has a white resize handle 
To learn more, see Lock and unlock elements.
Automatic resizing examples
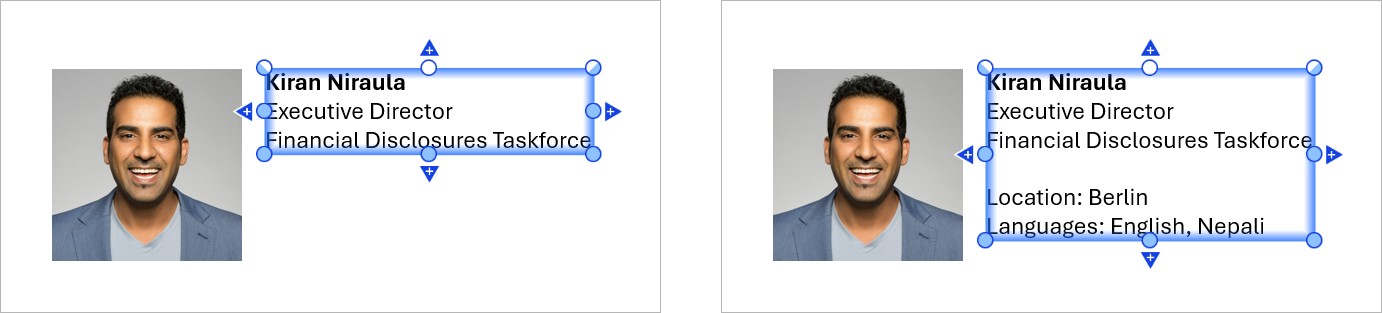
To automatically fit the height of the text box to its contents so that the top edge stays locked and the bottom grows or shrinks, lock the top edge and unlock the bottom edge.
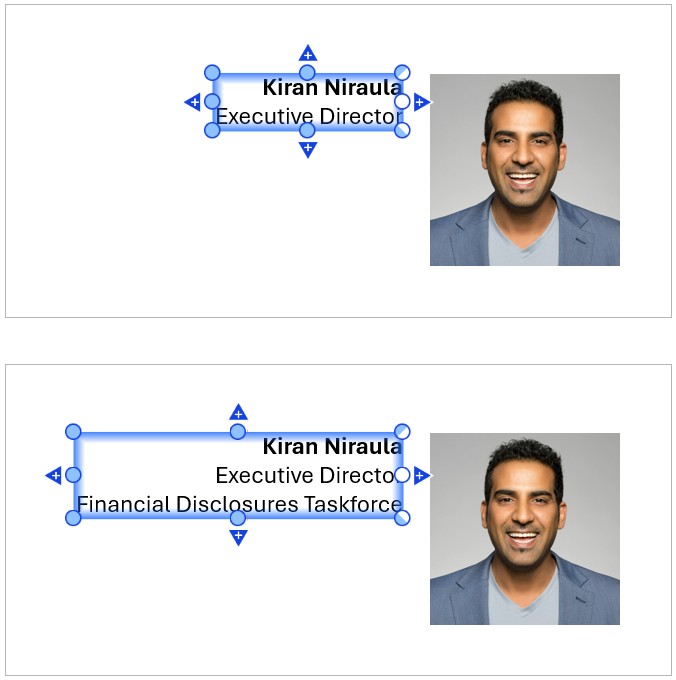
To automatically fit the width of the text box to its contents so that the left side grows or shrinks and the right edge stays locked, unlock the left edge and lock the right edge.
To turn off automatic resizing of the text box's height, lock its top and bottom edges.
To turn off automatic resizing of the text box's width, lock its left and right edges.
Dynamically align text boxes with other elements
You can create dynamic alignments between text boxes and other think-cell elements. When you edit the text, the other elements move or resize to preserve the alignment.
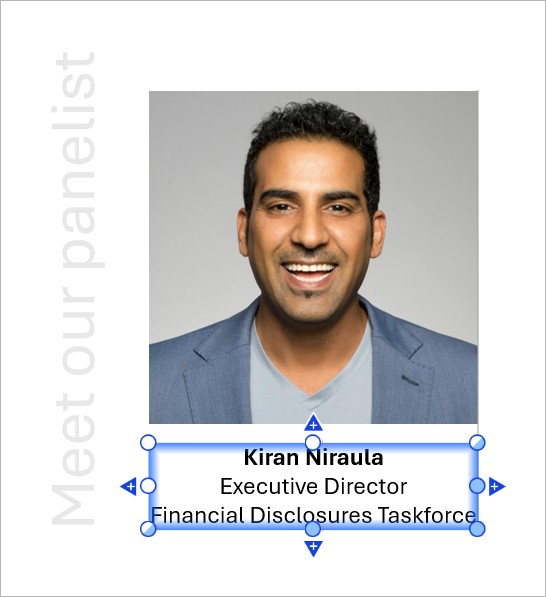
For example, you can align a think-cell text box and an image so that the image always matches the width of the text box, even if you make the text longer or shorter.
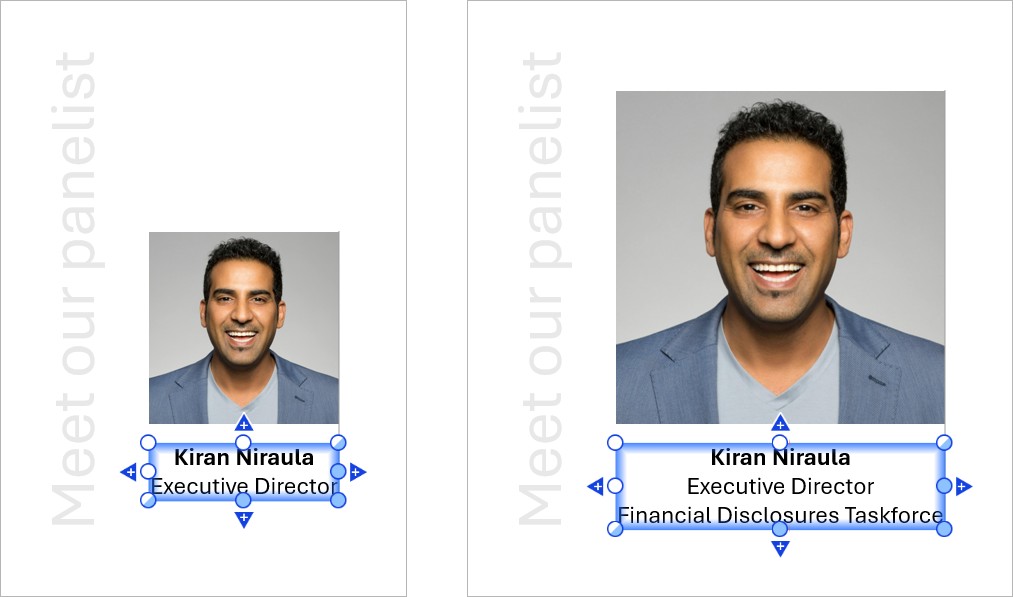
You can create a dynamic alignment along the top, bottom, left, or right edges of an element. In this example, the right edges of the image and the text box are dynamically aligned, as indicated by a thin gray line between the edges. Once you move one of the elements or certain edges, the dynamic alignment breaks (see Break dynamic alignments).
You can also create dynamic alignments using other think-cell elements that contain text or whose sizes are specified in points, including Harvey balls and checkboxes, Pentagons and chevrons, Rounded rectangles, Agendas, and Images and icons.
To create a dynamic alignment between a text box and another element, follow these steps:
-
Before you dynamically align the edges that you want—in this example, the right edges of the image and text box—you may want to lock some of the elements' other edges so that they don't move when you edit the text. A locked edge has a white resize handle
In this example, the following edges are locked:- The left edges of the image and text box, to preserve their alignment.
- The bottom edge of the image and the top edge of the text box, to preserve the space between them.
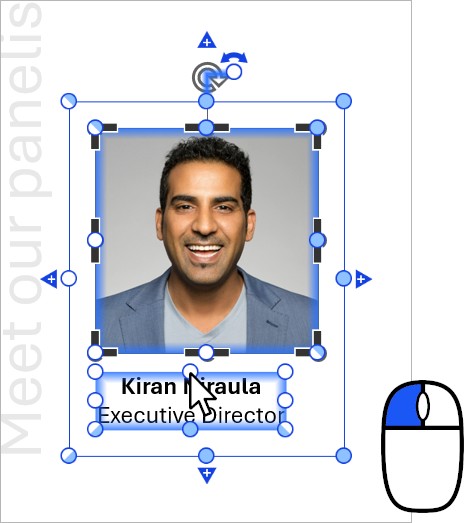
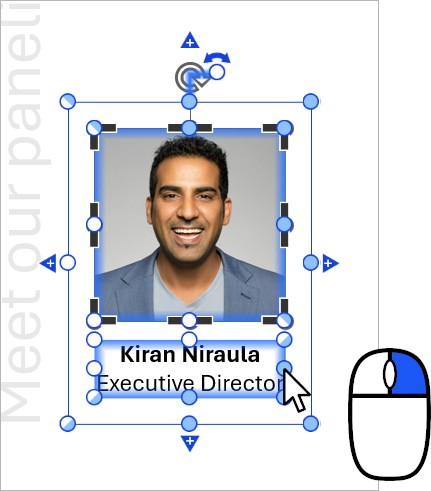
- Select one of the elements that you want to include in your dynamic alignment—for example, the image.
- Start dragging the resize handle of the edge that you want to align—in this example, the handle of the right edge.
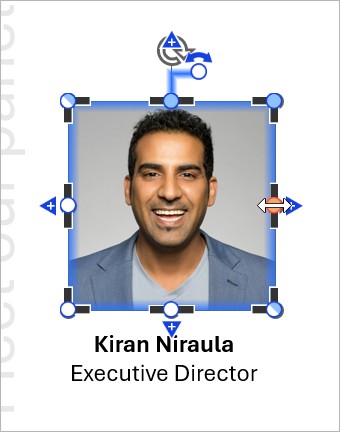
- While dragging the resize handle, move the mouse pointer onto the edge of the other element that you want to align to. The edge that you're aligning to is highlighted in blue, and a thin line appears between the edges. Release the mouse button.
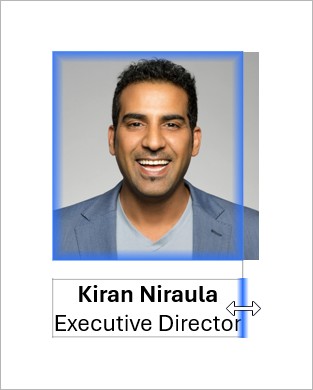
- Make sure that the edges that you want to dynamically align are unlocked—for example, the right edges of the image and text box. An unlocked edge has a blue resize handle
When you edit the text, the dynamic alignment will persist. In this example, the image resizes so that the right edge of the image is always aligned to the right edge of the text box.
Break dynamic alignments
The following actions will break a dynamic alignment by locking one or more edges:
- Move one of the dynamically aligned elements.
- Left-click the resize handle of a dynamically aligned edge.
- Drag the resize handle of a dynamically aligned edge.
- Drag the resize handle of an edge that's opposite a dynamically aligned edge. For example, if the right edge is dynamically aligned, moving the left edge will break the alignment.
Need to troubleshoot?
Check our knowledge base