Flussi di processo
- Home
- Risorse
- Manuale dell’utente
- think-cell Core: Elementi base della presentazione
- Flussi di processo
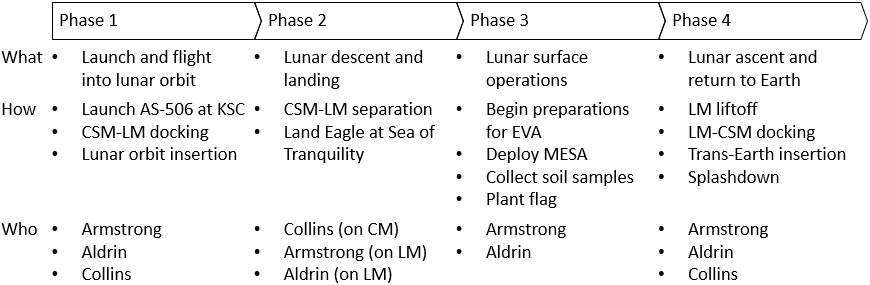
Con think-cell puoi creare facilmente e rapidamente un flusso di processo lineare composto da pentagoni, galloni e caselle di testo:
Per istruzioni generali sulla formattazione e sulla disposizione di pentagoni, galloni, caselle di testo e altri elementi think-cell, consulta Forme ed elementi.

Creare flussi di processo
Per iniziare a creare un flusso di processo, inserire il primo pentagono. Scegliere 
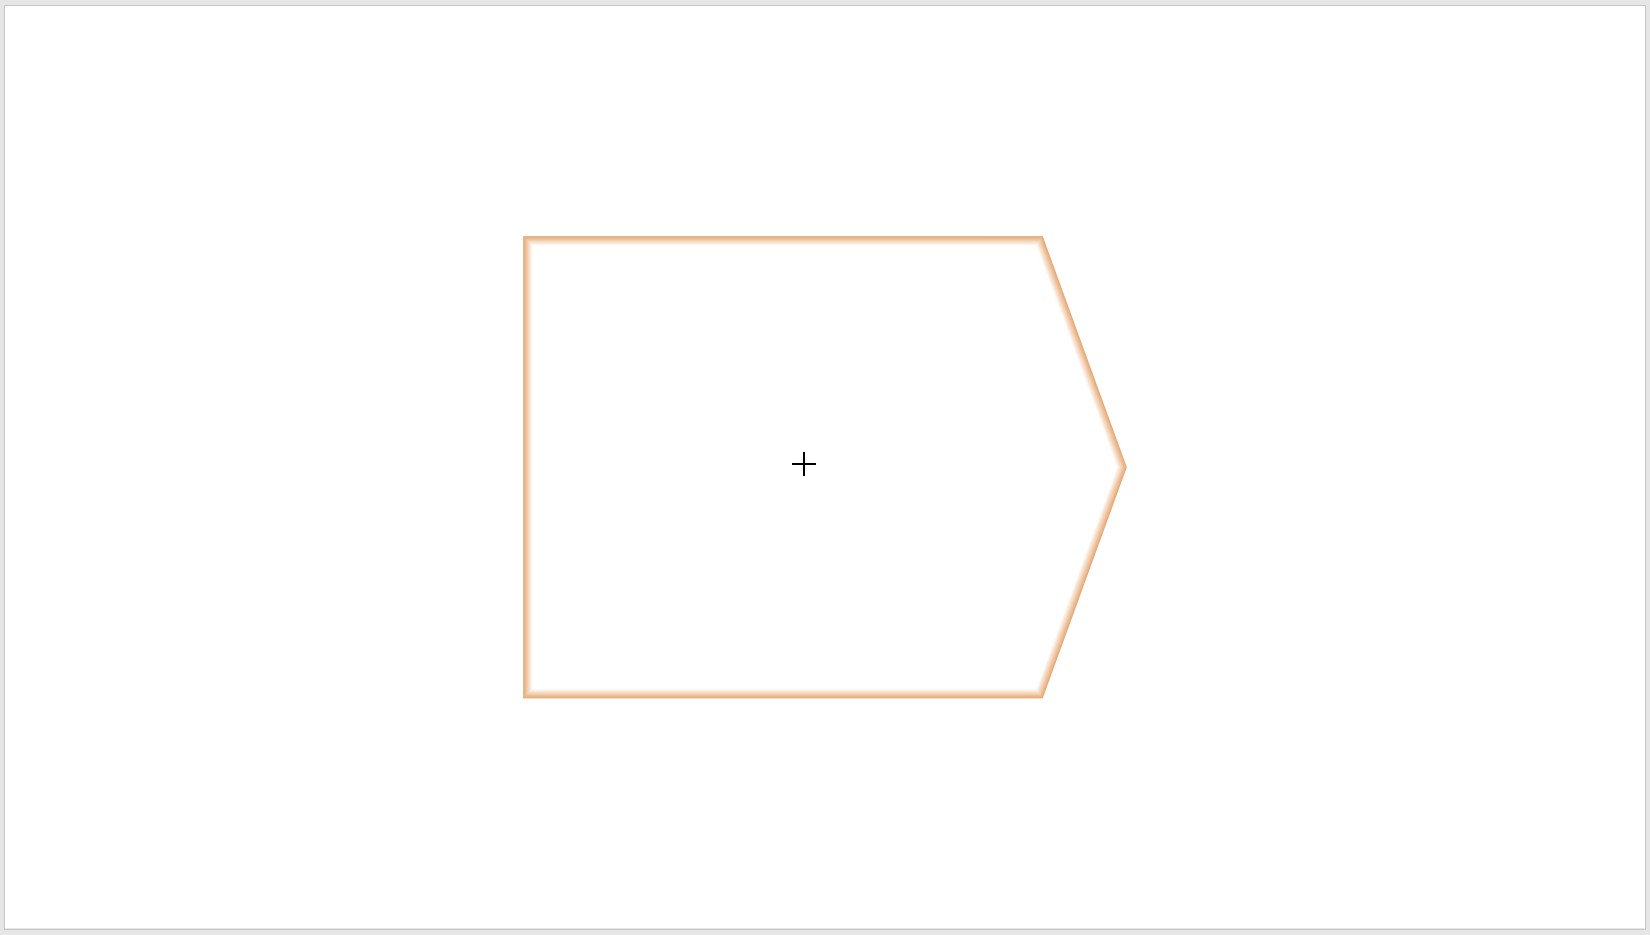
Fare clic quando si desidera inserire l'elemento nella posizione mostrata. L’elemento viene selezionato automaticamente dopo l’inserimento ed è quindi possibile immettervi direttamente del testo. Supponendo che questo elemento rappresenti la "Fase 1" del flusso, basta immettere questo testo all'interno del pentagono. La dimensione del pentagono viene adattata automaticamente mentre si digita.
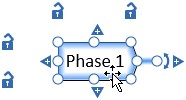
Il modo più rapido per aggiungere ulteriori galloni al flusso è utilizzare il pulsante 
È possibile seguire questo procedimento per più elementi selezionati o, Una volta terminato, fare clic su ogni pentagono o gallone per inserire o modificare il testo. Tenendo premuto il tasto Alt e premendo i tasti di direzione, è possibile spostarsi facilmente da un elemento all'altro.
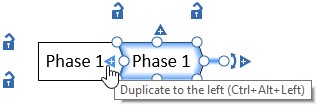
Dopo aver impostato i titoli del flusso con pentagoni e galloni, è possibile aggiungere una tabella. Selezionare con il mouse la riga dei pentagoni e dei galloni e fare clic sul pulsante 

Per descrivere ulteriormente il flusso, è possibile aggiungere prima una colonna di caselle di testo per le categorie delle righe, in questo caso "cosa, come e chi". Selezionare con il mouse la prima colonna di caselle di testo.
Quindi fare clic sul pulsante 
Fare clic su ogni casella di testo della prima colonna e digitare "Cosa", "Come" e "Chi". È possibile compilare il resto della tabella della casella di testo nello stesso modo:
Modificare la struttura del flusso di processo
Eliminare singole caselle di testo, righe intere o colonne è semplice quanto inserirle. È sufficiente selezionare la casella di testo o la riga o la colonna che desideri eliminare, quindi premere il tasto Canc. Puoi anche fare clic con il pulsante destro del mouse sulla selezione e fare clic sul pulsante rosso 
Se si desidera modificare la sequenza del flusso di processo in un secondo momento, è possibile selezionare e trascinare una colonna in un’altra posizione (ad esempio, spostare "Fase 3" tra "Fase 1" e "Fase 2"):
- Selezionare con il mouse il pentagono e le caselle di testo corrispondenti.
- Fare clic sul contorno blu degli elementi selezionati e tenere premuto il pulsante del mouse.
- Trascina la selezione esattamente tra le altre due colonne.
- Rilasciare il pulsante del mouse.
Ridimensionare automaticamente i flussi di processo per adattarli al loro contenuto
Le righe e le colonne di un flusso di processo possono essere ridimensionate automaticamente per adattarsi al loro contenuto. Puoi attivare e disattivare il ridimensionamento automatico e scegliere la direzione in cui una riga o una colonna cresce o si restringe. Per ulteriori informazioni, consulta Ridimensionare automaticamente le righe e le colonne delle tabelle per adattarle al loro contenuto.
Allineare dinamicamente i flussi di processo con altri elementi
Puoi creare allineamenti dinamici tra flussi di processo e altri elementi think-cell. Quando modifichi il flusso di processo, gli altri elementi si spostano o si ridimensionano per preservare l'allineamento. Per ulteriori informazioni, consulta Allineare dinamicamente le tabelle con altri elementi.
Flussi del processo di stile
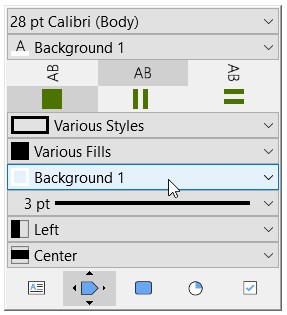
Dopo averlo posizionato e ridimensionato, è ora possibile aggiungere i tocchi finali al flusso di processo applicandovi uno stile. Supponiamo che si desideri attribuire a ogni pentagono e gallone un colore diverso che rappresenti le diversi fasi del progetto. Fare clic con il pulsante sinistro del mouse su ogni pentagono e gallone e selezionare il colore desiderato dal menu a discesa dei colori di riempimento sulla mini barra degli strumenti (vedere Riempimenti). È inoltre possibile modificare il colore delle linee e lo stile delle linee dei pentagoni. Selezionare tutti i pentagoni, fare clic con il pulsante sinistro del mouse sulla selezione, aprire il menu a discesa dei colori dei contorni e modificare il colore della linea, ad esempio, in Background 1 (vedere Modificare il colore del contorno). Fare nuovamente clic con il pulsante sinistro del mouse sulla selezione, aprire il menu a discesa dello stile linea e modificare lo stile della linea in 3 pt solid per ottenere un contorno spesso (vedere Modificare lo stile e il peso della linea). È inoltre possibile controllare l'allineamento del testo orizzontale e verticale tramite la mini barra degli strumenti.
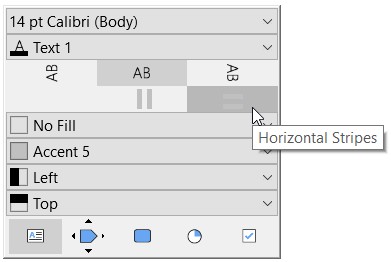
Per migliorare la leggibilità del flusso, è inoltre possibile assegnare colori di sfondo alternati a righe o colonne, con la funzione striping. A questo scopo, basa selezionare le caselle di testo che si desidera riempire e fare clic con il pulsante sinistro del mouse su una di esse per aprire la mini barra degli strumenti. Aprire il menu a discesa della funzione striping e fare clic su Vertical Stripes per alternare i colori delle colonne o su Horizontal Stripes per alternare i colori delle righe. Successivamente, con la mini barra degli strumenti è possibile selezionare i due colori per alternare le tonalità dello sfondo. Fare clic sul menu a discesa corrispondente e selezionare la tonalità preferita dall’elenco.
Infine, per visualizzare i titoli di colonne e righe in grassetto, selezionare la colonna o la riga corrispondente, fare clic con il pulsante sinistro del mouse sulla selezione, aprire il menu a discesa dei font e selezionare il grassetto per la dimensione del font preferita (vedere Carattere).
Per i modelli di flusso di processo gratuiti, leggi questo articolo del blog.
Hai bisogno di risolvere un problema
Consulta la nostra Knowledge Base