How to use and edit slide masters in PowerPoint presentations
- Home
- Resources
- Content hub
- How to use and edit slide masters in PowerPoint presentations

20 min read — Anthony Karge
The first step to building an effective PowerPoint presentation isn’t jumping into creating the first slide. Rather, it all begins with the PowerPoint slide master.
A slide master in PowerPoint is the foundational template for your entire presentation, including design, font, colors, backgrounds, and overall layout. Using a slide master saves time, creates consistency, and keeps your entire presentation on brand.
It’s certainly possible to work on a deck without using a slide master, but you and your colleagues can work more efficiently and avoid hassle by using slide masters. In this guide, you’ll learn how to effectively create, edit, and manage slide masters in PowerPoint.
- What is a slide master in PowerPoint?
- Why use slide masters in PowerPoint?
- How to create a slide master in PowerPoint
- How to edit slide masters in PowerPoint presentations
- How to apply and use slide masters in other presentations
- Best practices for working with slide masters
- How to find and manage slides in think-cell based on the slide master or layout
- Building better slide masters
- Slide master FAQ
Start a free trial and build polished presentations, faster
- Create complex charts, like Waterfalls and Gantt charts, in minutes.
- Full access to 250+ slide templates, smart layouts tools, and automation.
- Make your best slides more effective with AI tools build for slide work.
What is a slide master in PowerPoint?
The slide master is a PowerPoint feature that lets you apply style changes to your entire presentation at once. By editing the slide master, you can ensure consistency across every slide in your presentation, including fonts, backgrounds, logos, and more.
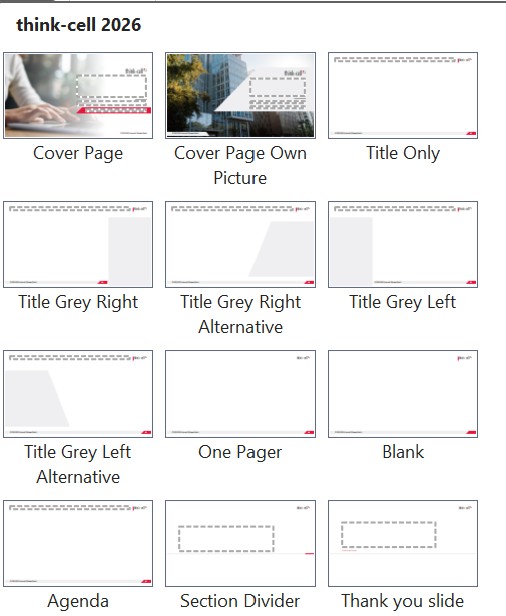
Layouts are directly related to slide masters. These sit under the slide master in the hierarchy and define where specific visual elements, such as text boxes and images, will be located and how they will look. When you make a new slide, you can select which layout you want to use from the ones associated with your presentation’s slide master.
Common layouts include title slides, agendas, and different types of content slides, such as two-column text, left-aligned image, and so on.
Why use slide masters in PowerPoint?
Using slide masters and layouts in PowerPoint is one of the best ways to reliably build presentations faster.
If you don’t set your slide master up correctly, you’ll find yourself fussing over each new slide and wasting precious time trying to make it consistent with the rest of the presentation. Slide masters are especially important when you’re collaborating with others. If a colleague is adding new slides to your presentation, the slide master you created sets the look and feel for those additional slides.
Once set up to your specifications, slide masters help you focus on the presentation’s content, rather than tedious reformatting on each slide.
How to create a slide master in PowerPoint
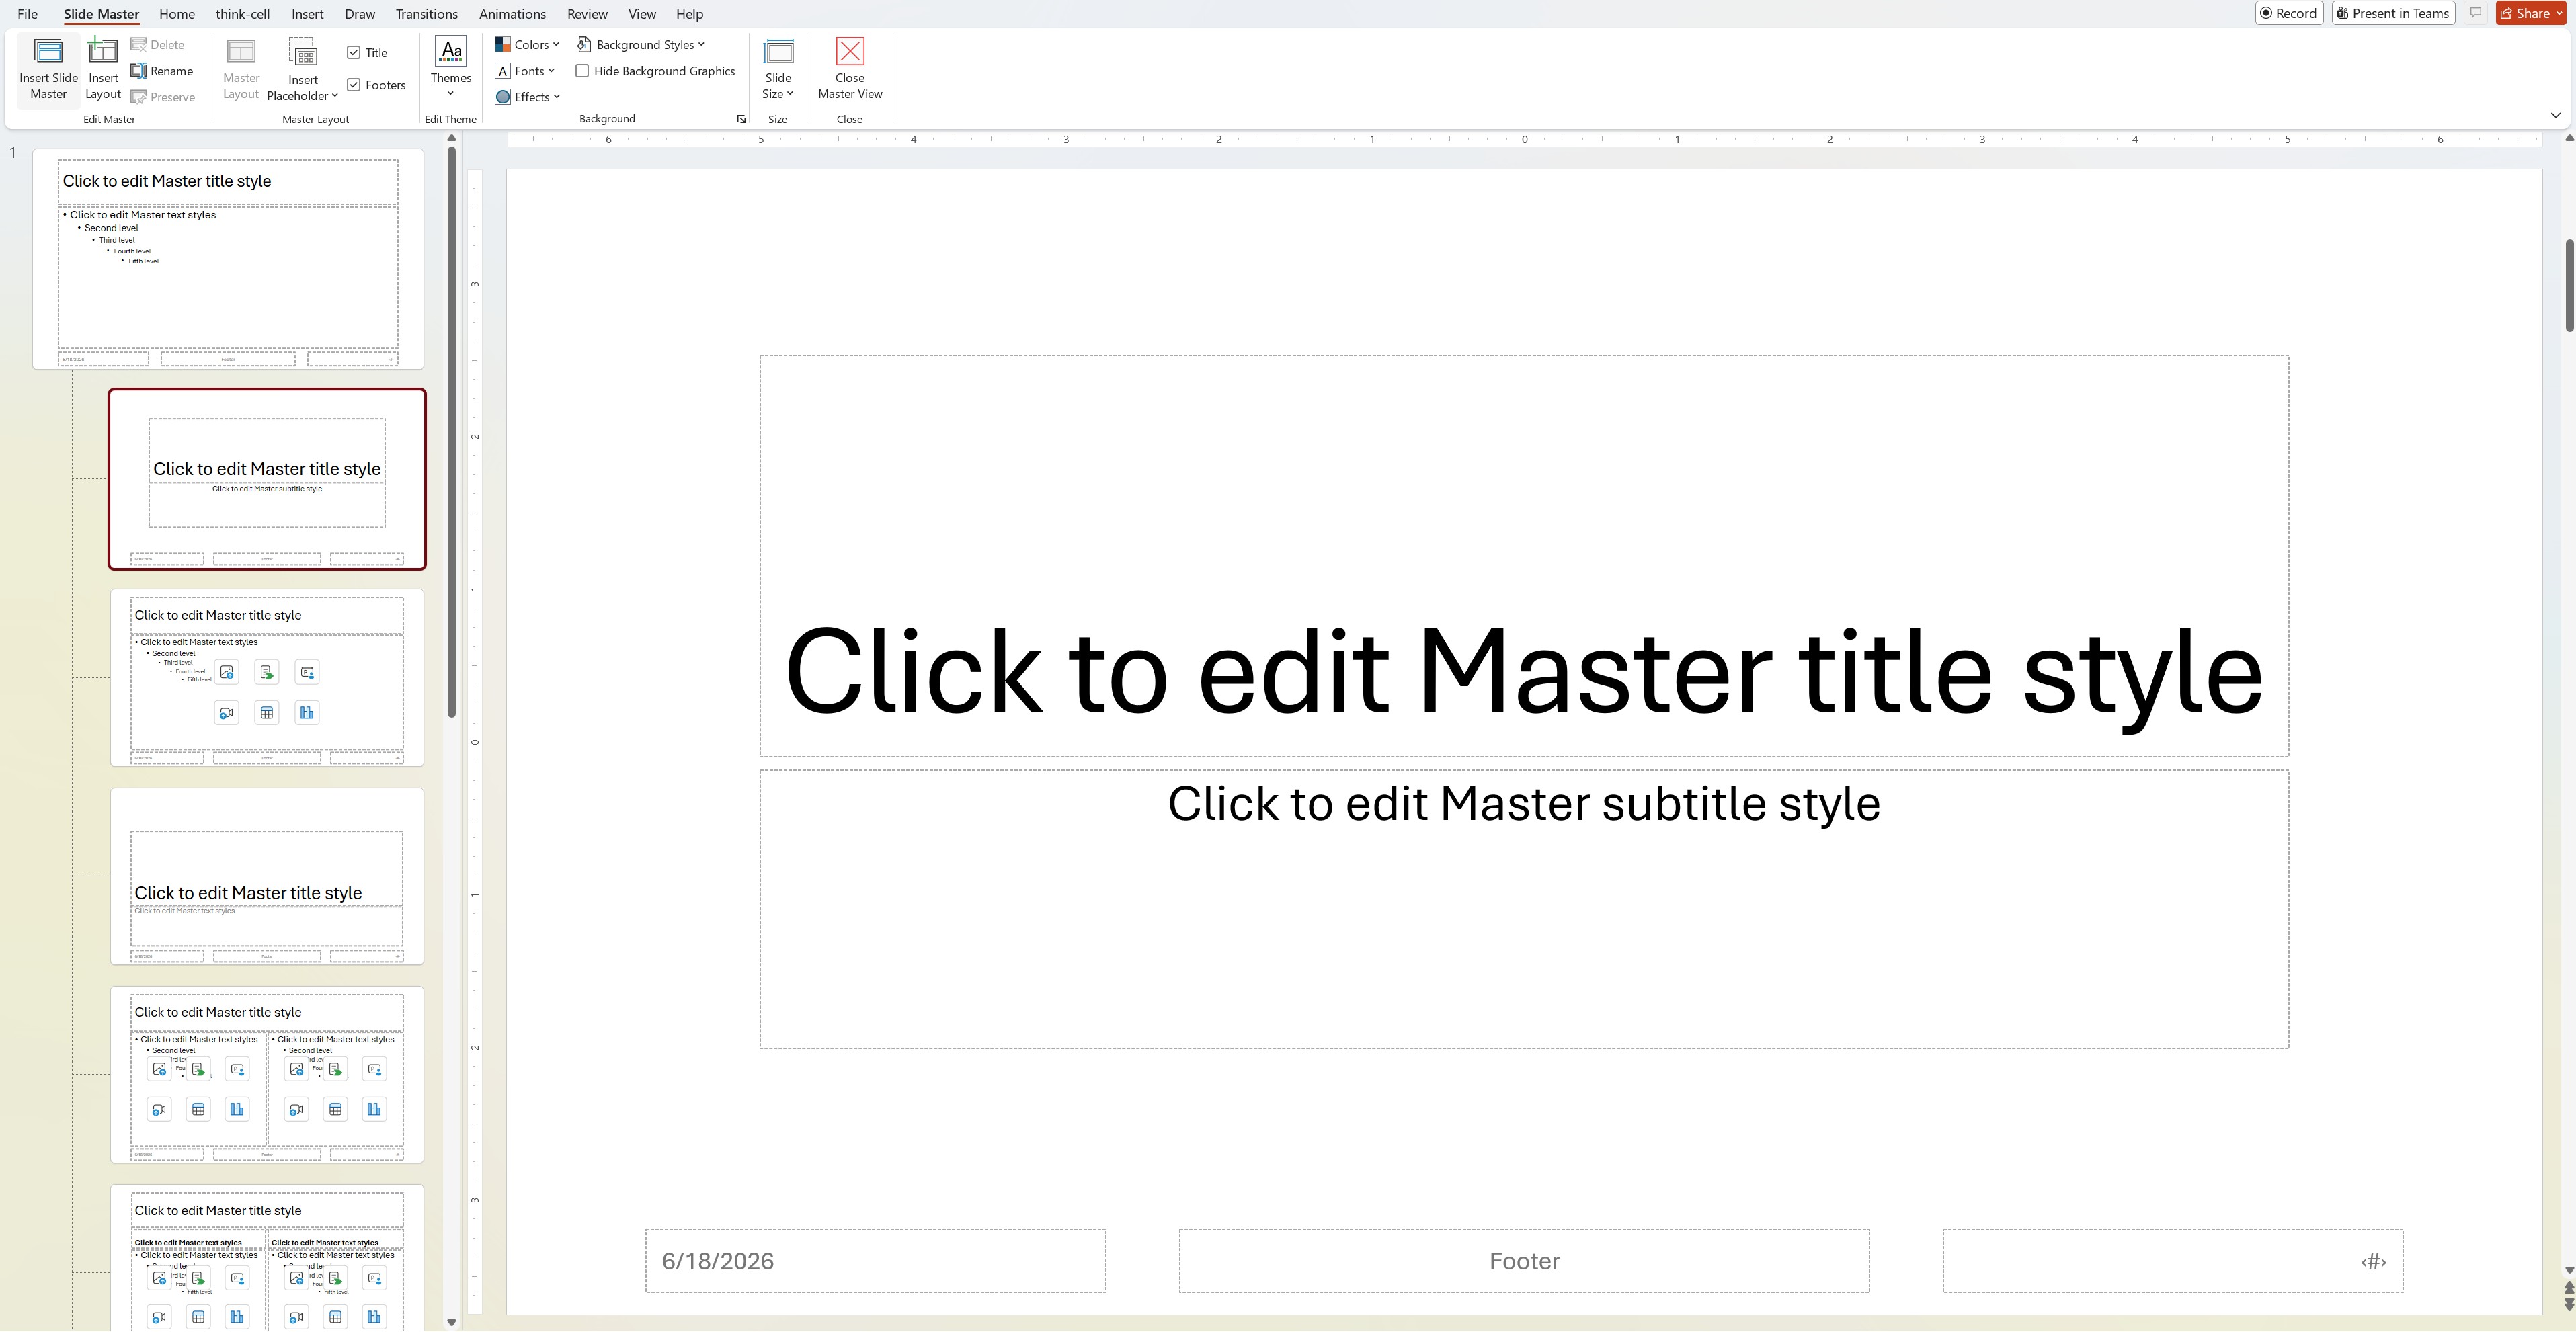
To create a slide master and layouts in PowerPoint, you need to navigate to the slide master view. There are two ways to do that.
- Navigate to the View tab on the PowerPoint ribbon and then click on Slide Master.

- The other method is to hold the Shift button and click the Normal view icon in the bottom right corner.

In the slide master view, you’ll see the slide master and any layouts nestled underneath. You can right-click on the panel to insert or delete slide masters and layouts. However, you can’t delete any layouts currently being used by an existing slide in the actual presentation. To do that, you’ll have to delete the slide itself or give it a different layout.
Most importantly, this is the view where you can begin editing a slide master and its layouts.
To go back to the normal view of your presentation, click “Close Master View.”
How to edit slide masters in PowerPoint presentations
When you’re in the slide master view, you can begin editing the master. Making edits is similar to any other PowerPoint slide. The difference is that the edits you make here will appear in other slides. Also, the slide master tab has a few options that aren’t available in the normal view.
Here are some of the most important things to edit in your slide master.
Changing slide master placeholders
A placeholder is a pre-formatted container for the slide's content. When you’re on the master slide, click Master Layout and check the items you want for your presentation as placeholders.
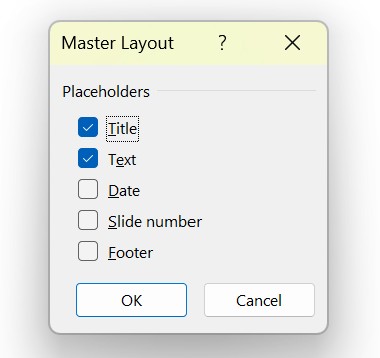
Titles, slide numbers, text, and footers are usually useful, but the date doesn’t need to appear on every slide.
When you’re in a layout and not the slide master, you have additional placeholder options by clicking the Insert Placeholder button on the tab.
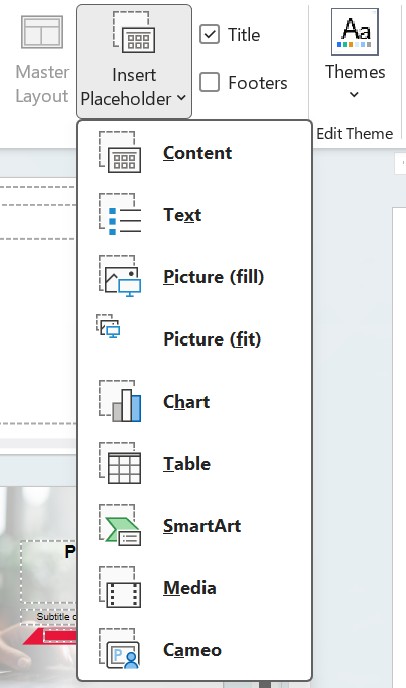
It’s best practice to use placeholders instead of generic shapes or text boxes that just look like titles or footers, but aren’t the actual placeholders. Not only does it make it easy for other people to understand and update the presentation, but think-cell Assist, a set of AI tools integrated in PowerPoint and Excel, can automatically create action titles for your slide in the title placeholders.
Change the font in the slide master
Highlight the title and body text to set the font style and size. This will affect the rest of the slides in the presentation.
Adjust bullet points
This is similar to changing the font. Highlight the text and choose the type of bullet point to be used. You can set the bullet point type and also the font size at different levels so that you always have a clear hierarchy throughout the presentation.
Modify text boxes
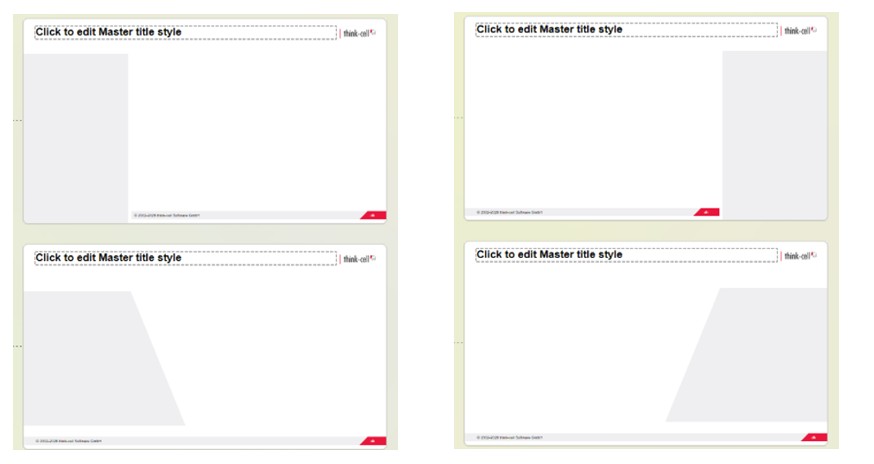
In addition to font style and size, you can set the margins and default location of text boxes. It’s useful to create different layouts for different types of slides, such as two-column, single-column with an image, and so on.
Add a logo to the slide master in PowerPoint
You can insert visual elements as needed. Logos are commonly used in the footer or top corner of a presentation. Photos or shapes that you don’t want to appear on every slide in the presentation are better suited for layouts rather than the overall slide master.
Change the background in a PowerPoint master slide
In the Slide Master tab, click Background Style and select your preferred background color or image. It’s best practice to choose a background that makes your presentation easy to read. Images as backgrounds are usually best avoided.
Change the presentation theme
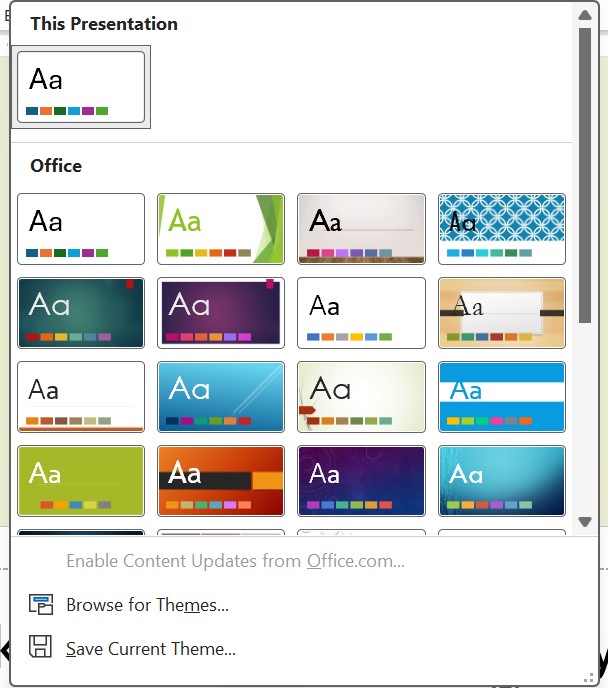
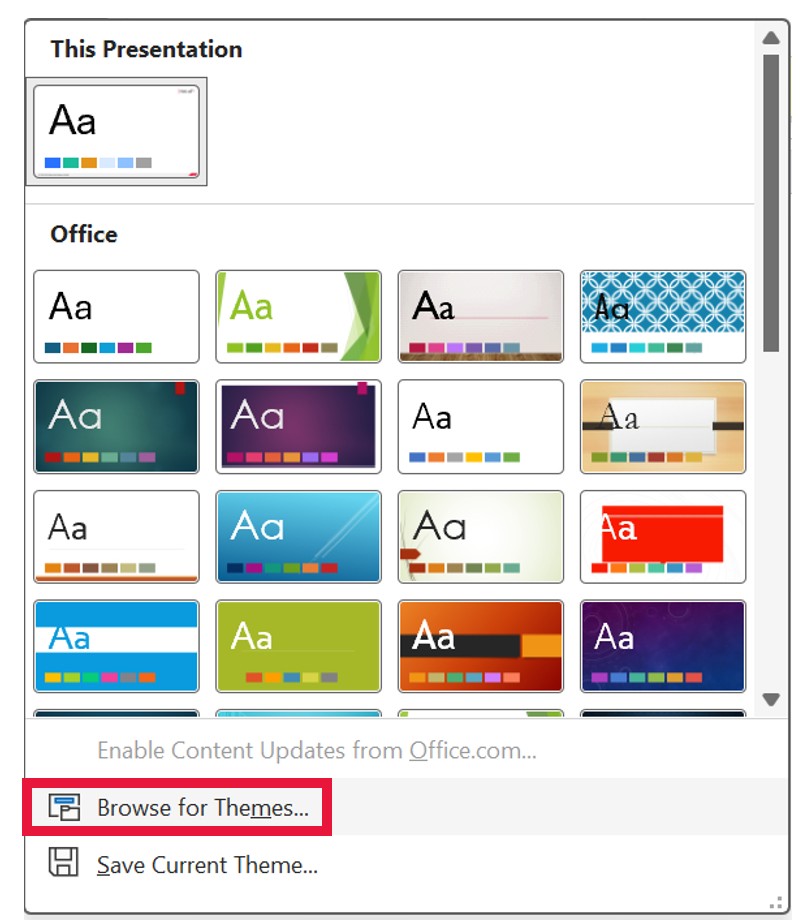
Click on Themes in the Slide Master tab to choose a pre-made set of colors, fonts, and effects. Microsoft PowerPoint comes with many free themes to choose from. Since these themes likely won’t align with your company’s brand guidelines, we recommend adding your own. If your organization has one available, you can click Browse for Themes to add it. Otherwise, you can edit the slide master to build a theme from scratch to share with your colleagues.
Adjust slide size
In the Slide Master tab, you can choose widescreen (16:9), full screen (4:3), and custom sizes. We recommend sticking to the default widescreen option for your presentation.
How to apply and use slide masters in other presentations
If you’ve built the perfect slide master and corresponding layouts, you can save a lot of time and effort by reusing them for the next presentation or sharing them with the rest of the organization.
You can transfer and apply the slide master by copying and pasting.
- Open both presentations – the one you want to copy from and the one you want to apply the slide masters to.
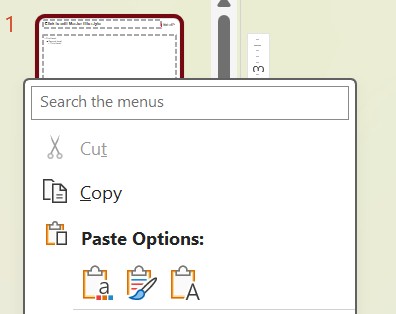
- In the slide master view (from the View menu), right-click the slide master and select Copy.
- In the slide master view of the new presentation, right-click and select Copy. You can choose to use the destination theme or keep the source formatting.
If you’re sharing layouts via email or through your organization’s presentation library, it’s better to save and then import the slide master as a template. This ensures that different slide masters are accessible to your team members without having to manually copy and paste.
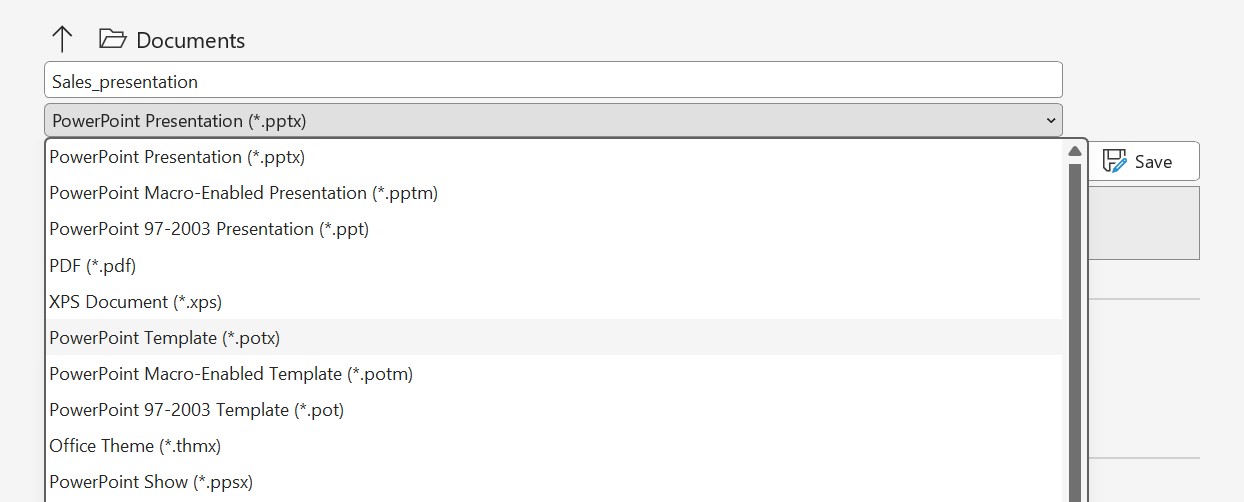
- Save a copy of the presentation. In the file format dropdown menu, select PowerPoint Template (.potx). Be sure to give the file a practical and easy-to-understand name. Particularly if you’re saving more than one template, the names should make it clear which is which, e.g., by including dark or light, or specific sub-brands.
- Open up the new presentation you’re working on.
- Navigate to the slide master view and select Themes. Select Browse for Themes and then navigate to the .potx file you created.
- Selecting the file brings over all the slide masters to the new presentation.
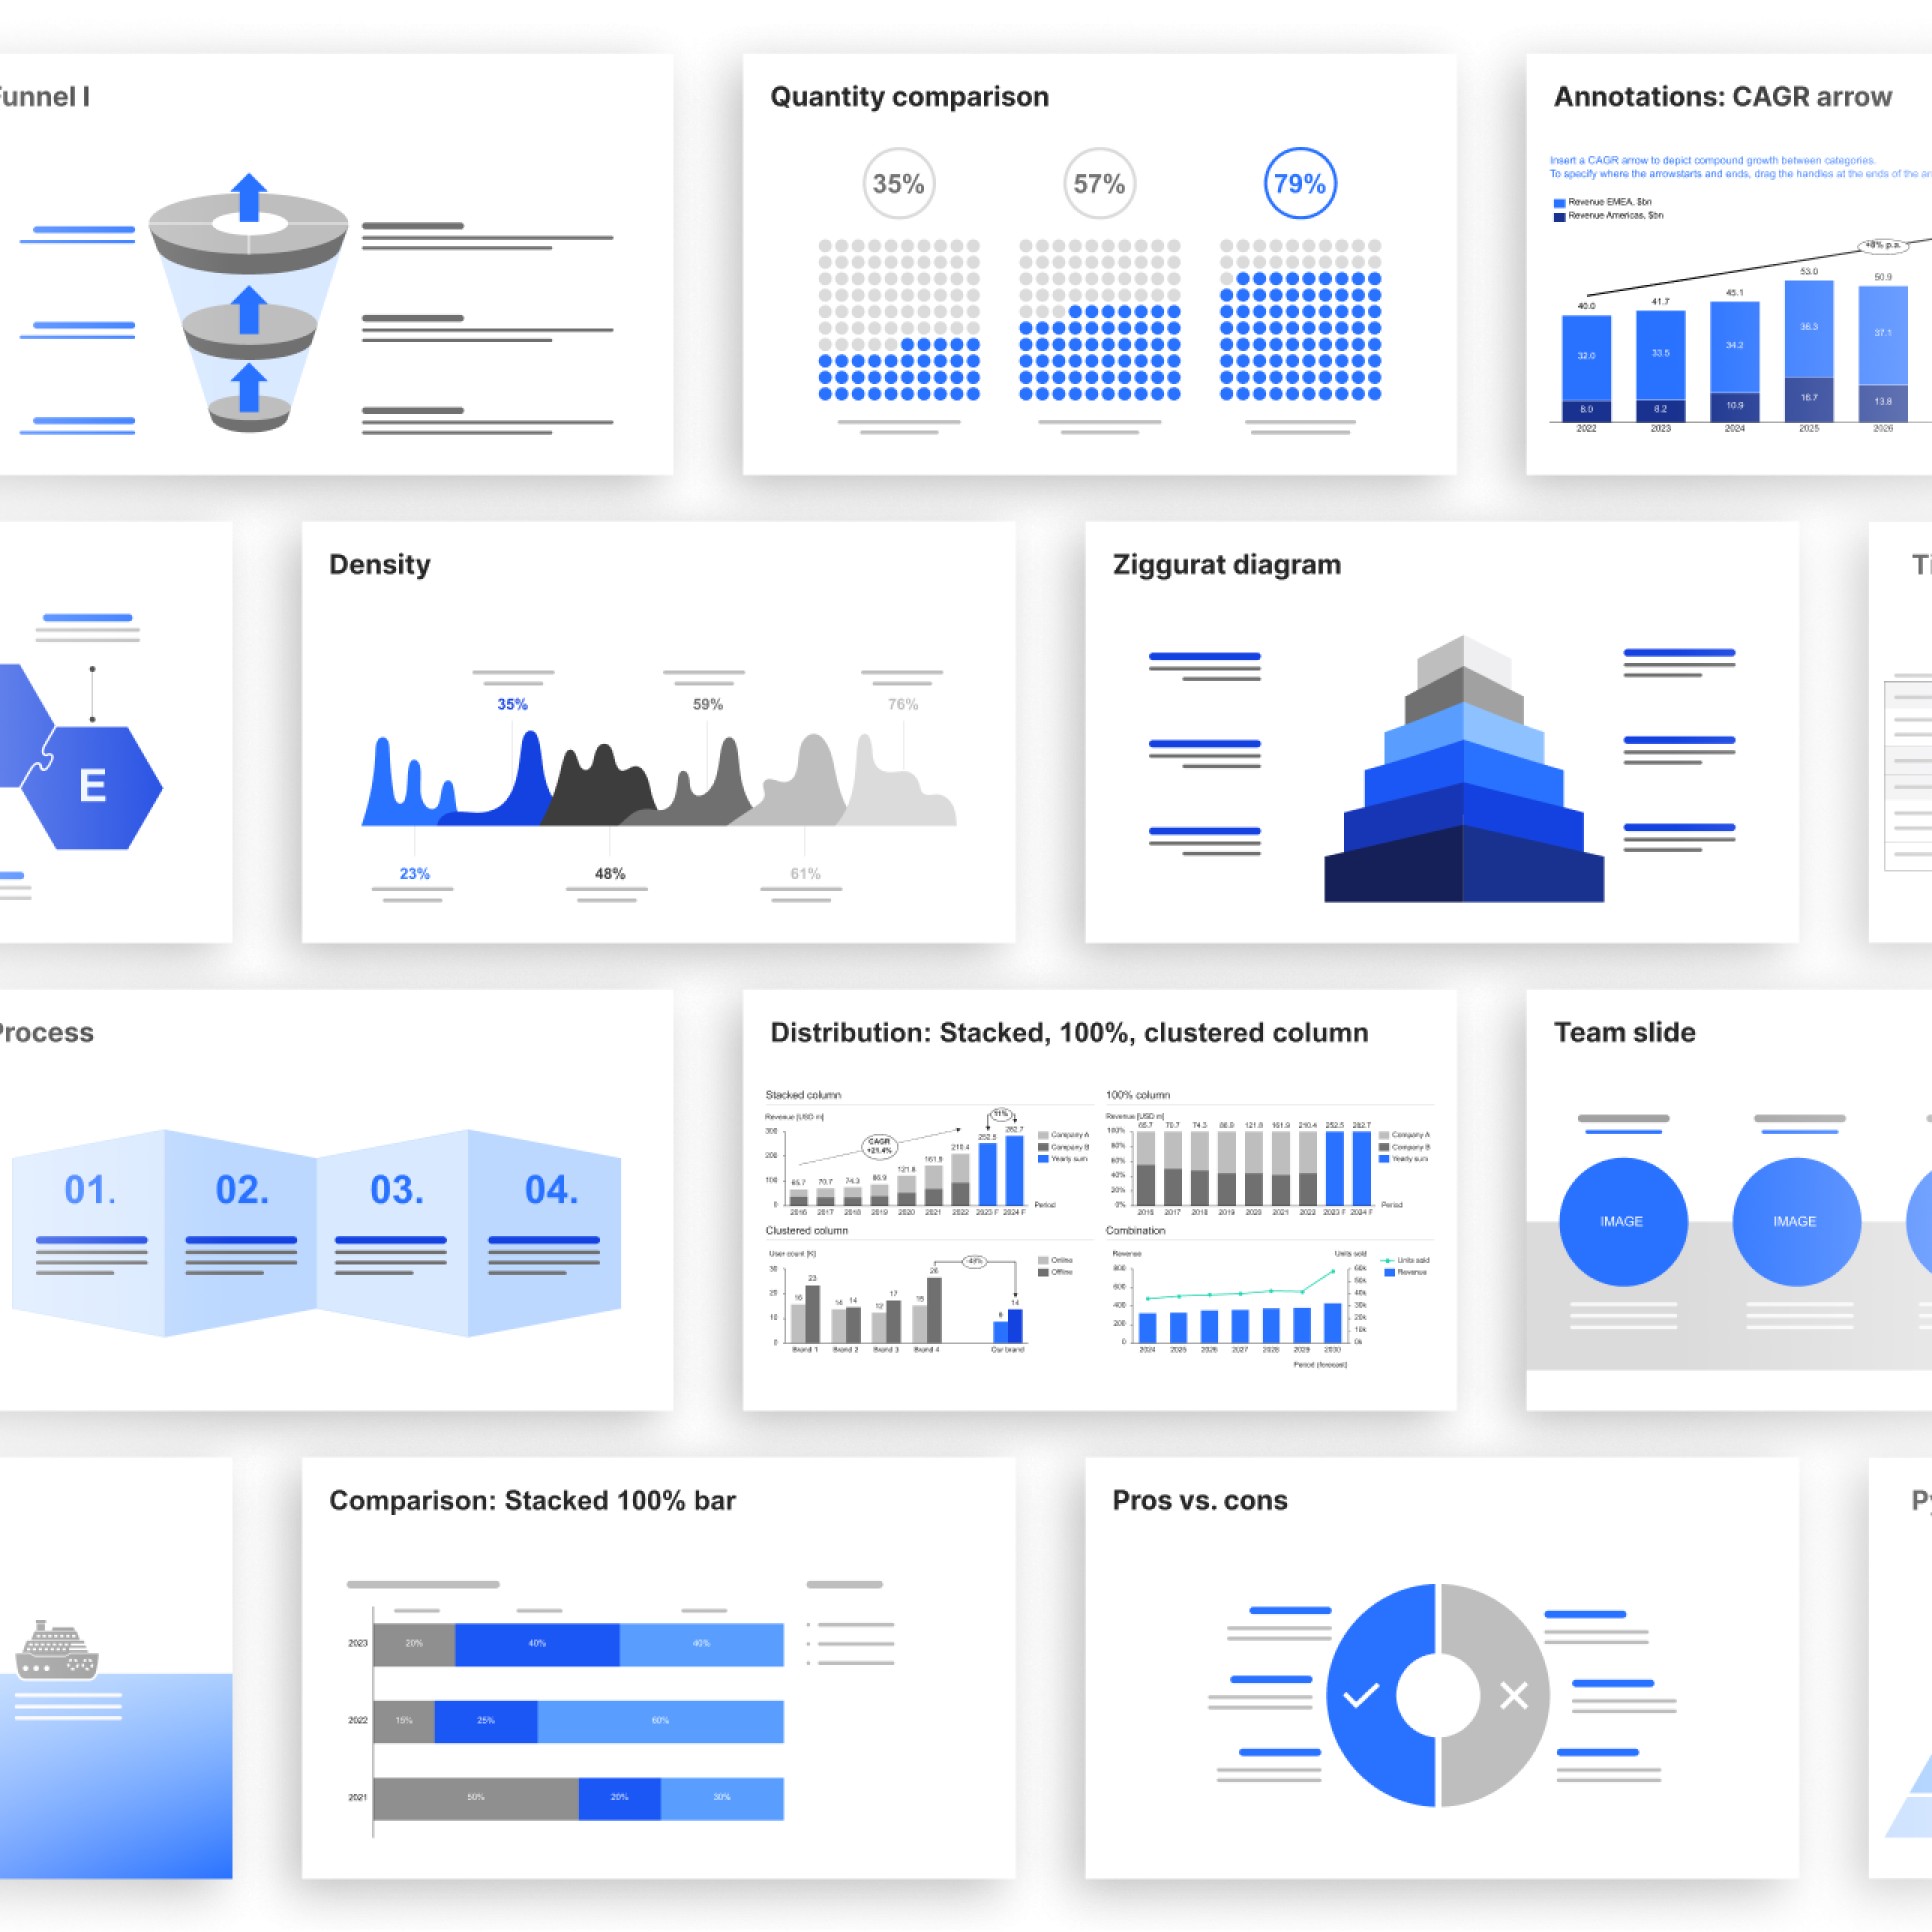
250+ business slide templates
Professional designs from our experts for you to make your own, available as .potx files.
- Cover all common business presentation scenarios.
- Follow best practices for PowerPoint slide layouts.
- Adapt automatically to your brand’s color palette.
Best practices for working with slide masters
Well-structured slide masters make it easy for everyone to read, understand, and work with PowerPoint presentations. They’re an enormous time saver and the best way to ensure consistency in every slide you and your team create.
Some best practices for you and your team to make the most of this feature include:
- Centrally create one or more slide masters (with clear, understandable names) and make these available through a presentation library
- Use the appropriate slide master as soon as you start a new presentation by opening the .potx file.
- Presentations should normally only have one slide master to ensure consistency. When inserting a slide from another presentation, you can use “Use destination theme” to apply the existing slide master.
- When making a change globally in your presentation (e.g., adding a new client’s logo to every slide in an existing presentation), always do it in the slide master and not the individual slides.
- Use layouts rather than manually positioning content. If users repeatedly create the same slide type, create a dedicated layout for it.
- Keep the number of layouts manageable. Too many similar layouts can make it harder for users to find the right one and may encourage them to create slides from scratch instead.
- Regularly review and remove unused slide masters and layouts. Over time, slide masters can accumulate outdated layouts that create confusion and increase maintenance effort.
How to find and manage slides in think-cell based on the slide master or layout
If you’re using think-cell, finding all the presentation resources you need is straightforward. With the think-cell Library, you can add your favorite presentations, slides, templates, images, and icons to a central repository that’s easy for everyone to find and use.
You and your colleagues can search for approved slides using the specified master slides or layouts. This is especially useful if your organization has a variety of slide masters for different departments or sub-brands. You can ensure that you’re only looking for slides that are on-brand for the presentation you’re currently working on.
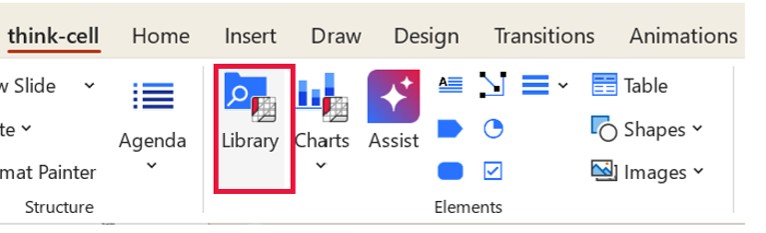
- To search for slides based on the slide master being used, click on the think-cell tab and select the Library icon.
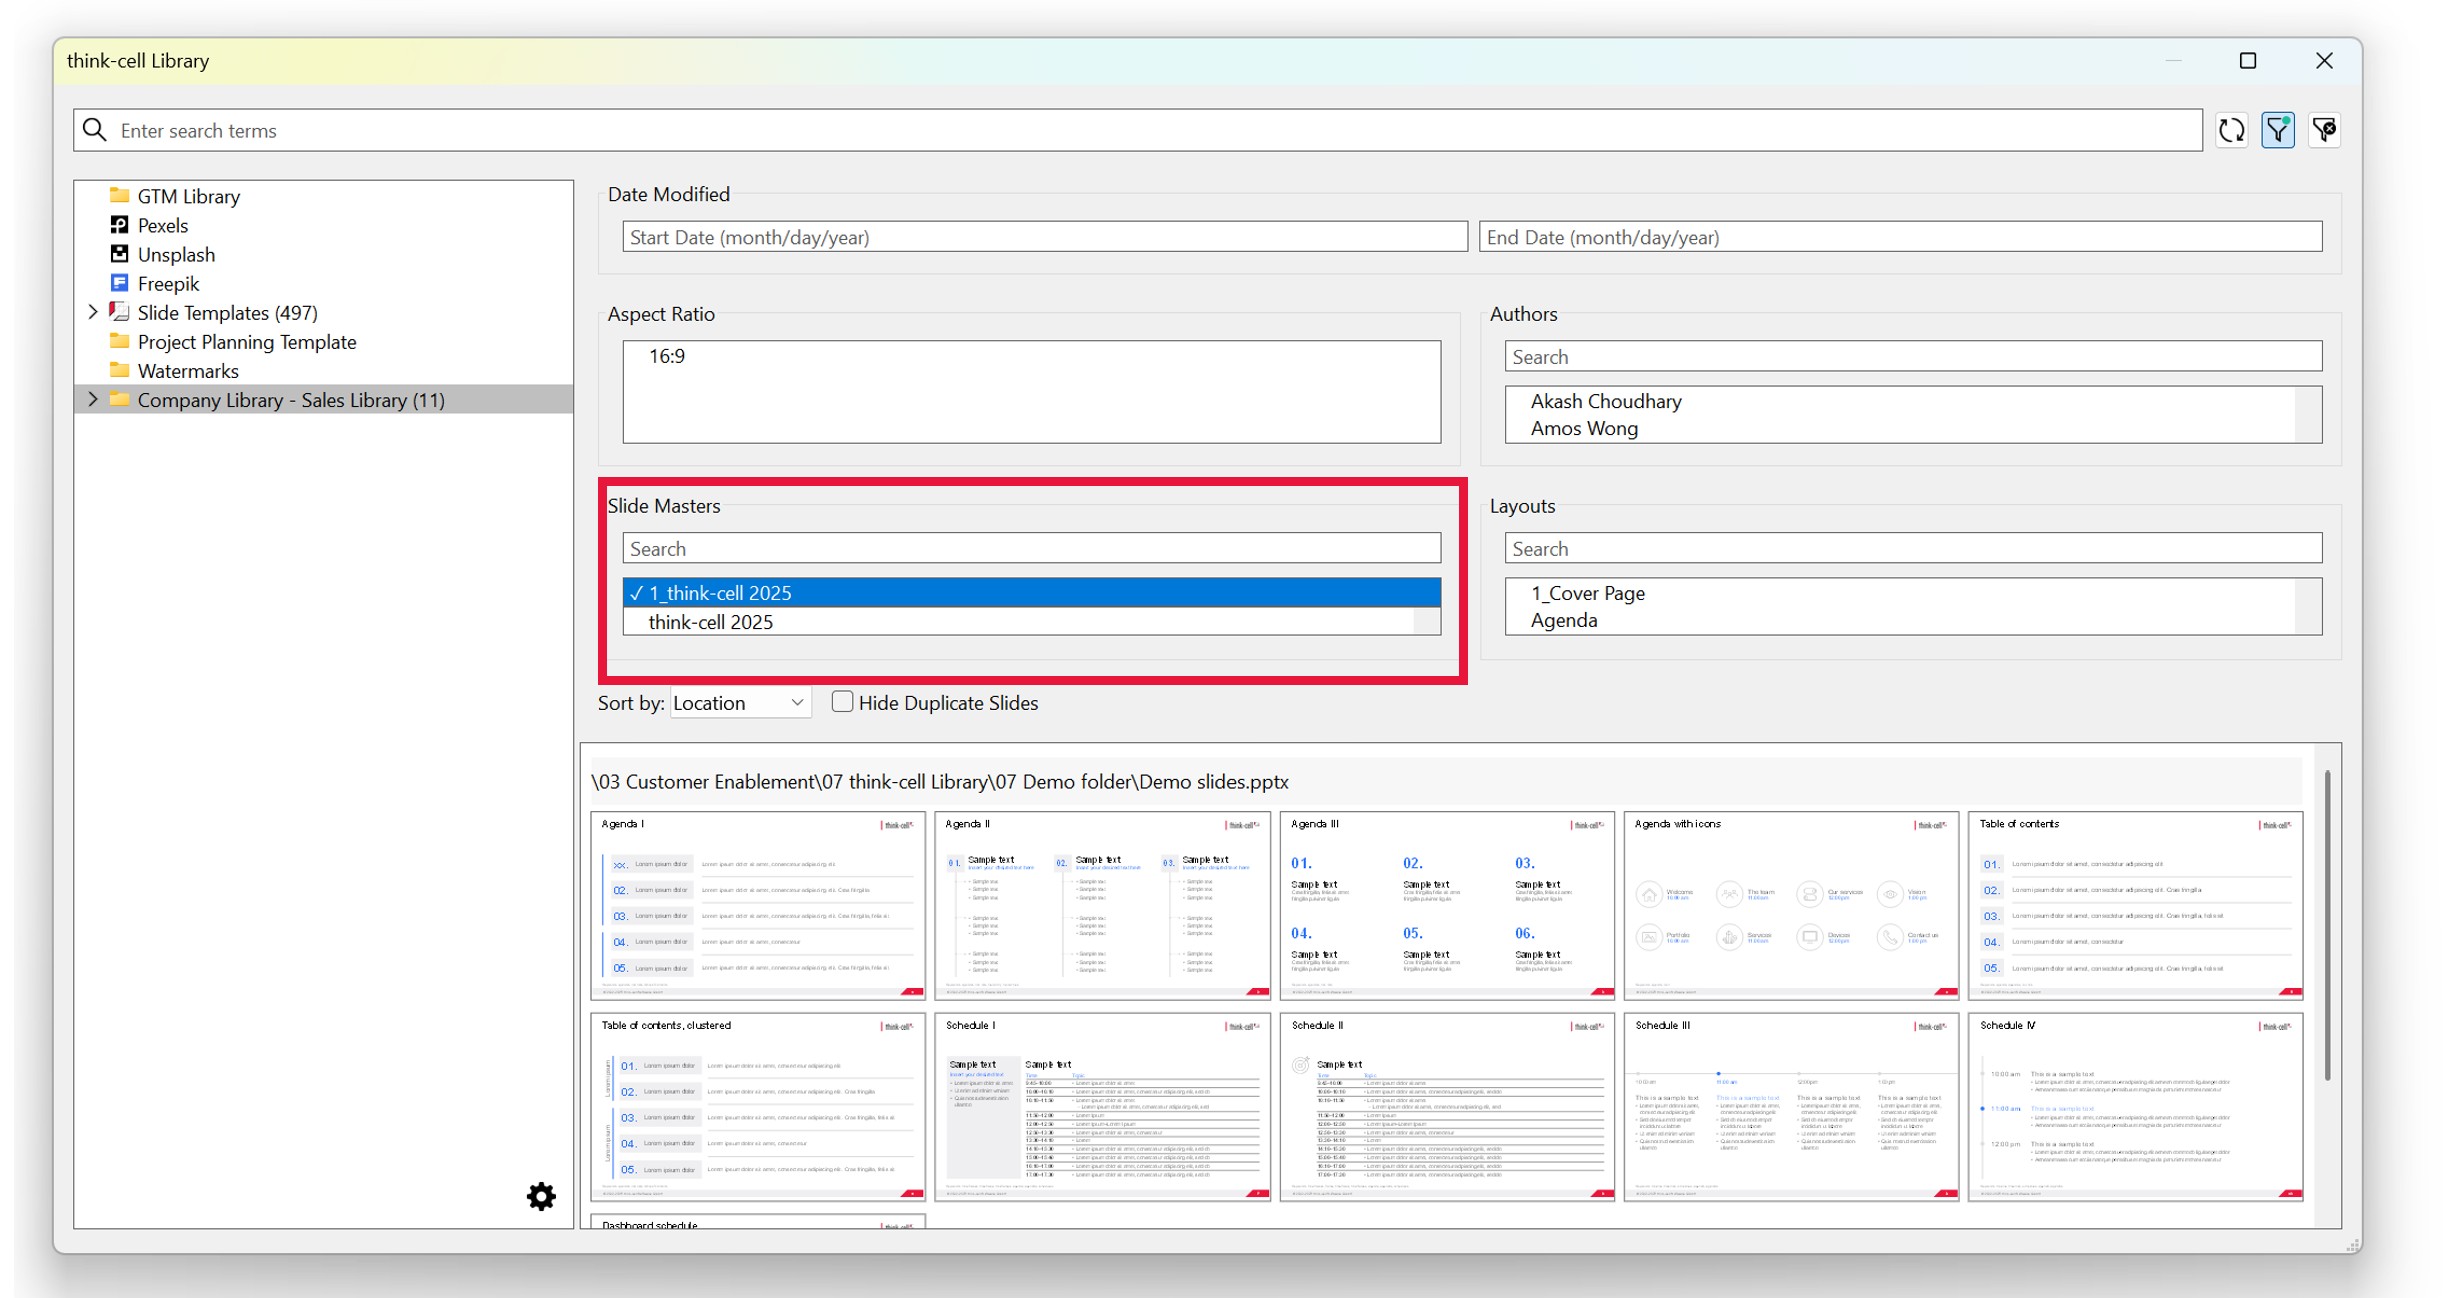
- Next to the search button, click the filter icon.

- You’ll see the Slide Masters section, where you can search or scroll through the different versions. Choose the one you need and then select the available slide below that you want to use. You can also search for layouts next to the Slide Masters search box and insert them into your presentation.
Building better slide masters
When you’re starting a presentation or building off an existing one, take the time to navigate to the slide master view and make any necessary improvements. Whether it’s related to the font, margins, layout, or anything else, slide masters are an invaluable tool for building presentations.
Slide master FAQ
Here are some frequently asked questions about PowerPoint slide masters.
What is the slide master in PowerPoint?
A slide master is responsible for the overall appearance of your PowerPoint presentation. The changes you make on this slide within the slide master view affect font, colors, logos, backgrounds, and more.
Where is the slide master in PowerPoint?
The slide master is located in the slide master view. There are two ways to navigate there.
- Navigate to View on the PowerPoint ribbon and then click on Slide Master.
- The other method is to hold the Shift button and click the Normal view icon in the bottom right corner.
Once you’re in the slide master view, you can start making edits.
What’s the difference between a slide master and a slide layout?
In simple terms, a slide master is the “parent” slide that affects all other slides. A slide layout is the “child.” Any changes in the slide master will affect the layout master, but not vice versa.
Creating and editing layouts is useful for adjusting specific slides you know you’re going to use, such as title slides, content slides, table of contents, and so on. You can edit these layout masters without affecting the rest of the presentation.
How do I apply master slides in the Mac version of PowerPoint?
Applying master slides in the Mac version of PowerPoint is the same as in Windows.
Click on View on the PowerPoint ribbon and then select Slide Master.
From here, you can make edits to the slide master and any layout masters.
How do I delete master slides in PowerPoint?
Deleting a master slide or layout is the same as doing so in a regular presentation. In the slide master view, right-click on what you want to delete and select “Delete Master.”
If you’re a think-cell user, you can easily remove unused slide masters to better organize your presentation file. In the think-cell tab, select “Clean Up” and then select the “Unused Slide Masters” box.
Explore this topic further with AI:
Read more
Learn how to evaluate the most important features for choosing the best possible presentation library, including templates, images, and other visual assets.

Explore the think-cell Library and see how you can save time, search effectively, and access a wealth of resources to ensure you never have to start your presentation from a blank slide again.

Five practical ways to turn cluttered data slides into clear, story-driven visuals that land with your audience.

Understand the importance of data visualization for business decision-making and learn how to visualize business data to make your presentations more impactful.

Global survey of 1,200 professionals in 12 countries into how AI is used in presentation workflows.